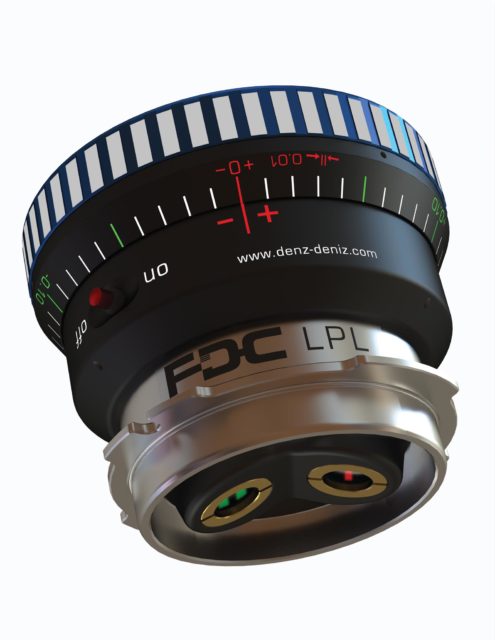
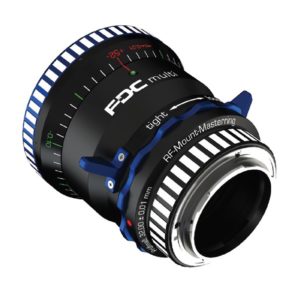
The new DENZ FDC-LPL Multi tool is the latest addition to their line of essential Focal Depth Controllers, joining the FDC Multi which comes in PL mount and a variety of adapters. If you build, buy, rent or use LPL mount cameras, you need this testing device.
Why? Flange focal depth (FFD) is the distance from the shiny metal flange of the camera’s lens mount to the imaging sensor. This distance can vary with (gasp) manufacturing tolerance errors, wear-and-tear on location, temperature, shipping and age. An unsupported heavy lens can weigh heavily on the mount. A bumpy and crazy car chase could cause problems, most likely not on a solid-as-a-rock ARRI, but you never know.
And so, if the flange focal depth is out of whack, the focus marks on your lens will be wrong. When you focus the lens to 6 feet, the camera’s sensor could think it is is 5 feet or 7 feet.
There are a number of terms used interchangeably, but to avoid confusion, let’s settle on the following:
1. Flange focal depth (FFD), sometimes shorted to “Flange depth,” is the depth of the camera cavity from the camera’s mount to the sensor.
2. Flange focal distance is the distance from the rear surface of the mount on the lens itself to the sensor.
3. Back focus is just another term for flange focal distance—lens mount to sensor.
In the prehistoric analog days of film, just a few years ago, you checked flange focal depth by poking a pointy-tipped tool—a dial with a probe—appropriately named a depth gauge. The big difference now is that with digital cameras you risk scratching the low-pass filter covering the sensor. Also, few digital cameras use the same sensor, low pass filter or cover glass and the cover glass is not the image plane. The sensor, with its photosites, is the image plane.
And that is why the DENZ FDC-LPL and its sister FDC Multi are considered industry standards. Major manufacturers such as ARRI, RED, Blackmagic Design, Vision Research and others have been using the DENZ FDC for years to check the depth of their cameras during assembly. Many rental houses check their cameras with the FDC and busy camera assistants carry them in their kits.
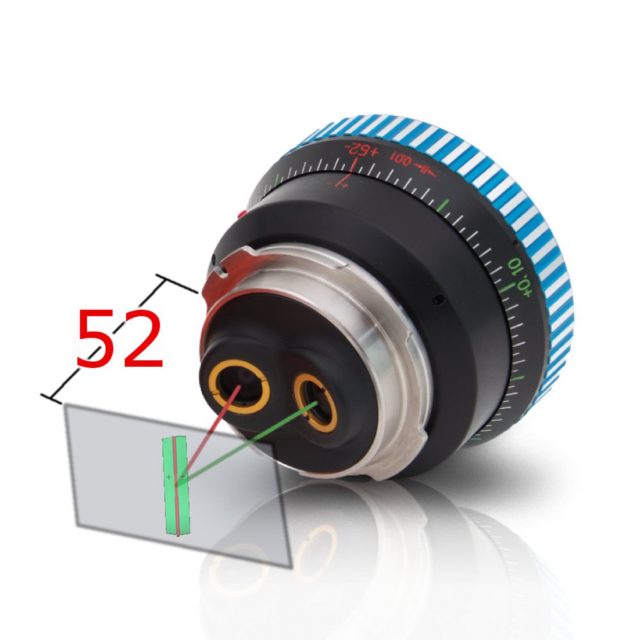
If you’re using a PL mount camera, you have been using the FDC Multi. The Flange Focal Depth of PL mount cameras is 52.00 mm. (At least that is the default setting. Some companies and rental houses may deviate from this standard measurement for a variety of reasons, but that’s another story.)
Now, the FDC-LPL has been introduced. Flange Focal Depth of LPL cameras (ALEXA LF, ALEXA Mini LF, etc) is 44.00 mm.
To paraphrase David Byrne (from Once in a Lifetime), you may ask yourself, well, why not just use a PL to LPL adapter? You could. But the nagging question is whether that introduces yet another variable into a process where we are looking for micron accuracy. And a dedicated LPL version is easier and faster to use.
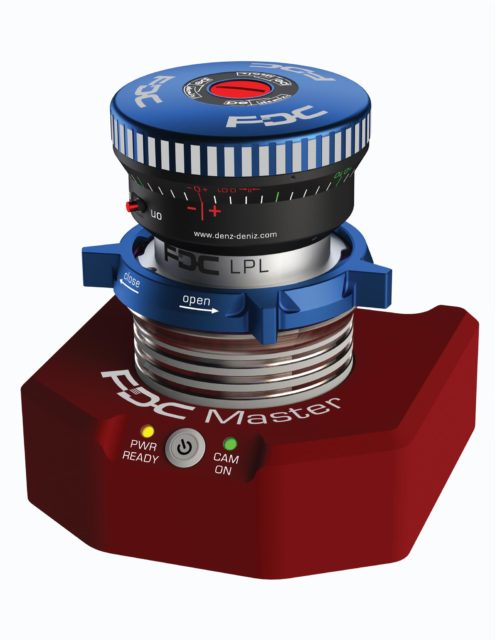 Just as analog depth gauges for film cameras are zeroed out and calibrated using a metal collar, DENZ FDC Multi testers can be checked on a DENZ FDC Master.
The new DENZ FDC Master in LPL mount calibrates the FDC-LPL. A high-resolution black-and-white sensor inside displays a test image and so calibration correction of the FDC can be done by simply adjusting the scale ring.
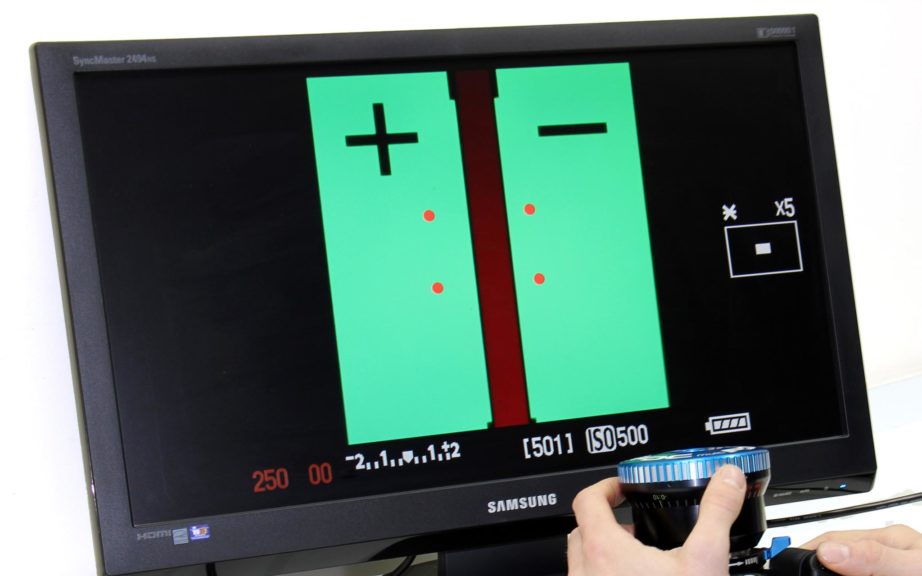
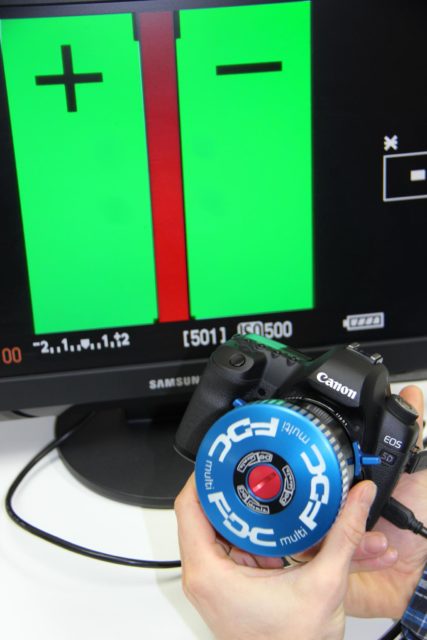
To begin measuring, attach the FDC Multi onto your camera as you would a lens. The FDC projects a red laser and a pair of green lasers focused at the image plane of the sensor from two different optical axes. If the distance is correct, a vertical red bar aligns— centered evenly—between two green boxes. This is displayed on a monitor connected via the video output of the camera being tested.
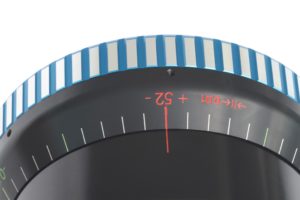
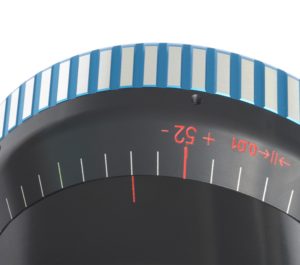
When the flange focal depth of the camera is correct—e.g. 52.00 mm for a PL mount camera, the FDC-PL measuring scale’s red “52” witness mark will line up with the red index mark. On the FDC-LPL, it will line up at 42.00 mm. This means that no correction is necessary.
If the flange focal depth is off, your monitor will show the red target offset and overlapping one of the green boxes. Rotate the barrel of the FDC multi until the red bar is centered.
Next, read the amount of correction on the barrel’s scale. Each witness mark line represents 0.01 mm (10 microns). For example, if it shows 2 witness marks on the Minus (-) side, that means you are -0.02 mm short of optimal 52.00 mm.
The remedy is to adjust the flange focal depth of the camera by removing the camera’s lens mount and adding a 0.02 mm shim under the camera mount. Similarly, if the FDC multi shows a Plus (+) reading, you remove shims. Tedious trial and error procedures are a thing of the past because the FDC tells you exactly how many shims to add or remove.
The FDC Multi comes in a small, padded, lockable, water repellent aluminium case. Inside the case, compartments hold accessories such as PL, PV, RF and EF-mount adapters, power supply, and a user manual.
For studio and test-bench use, the FDC Multi can be powered by its external AC power supply (100-240V AC, 50-80 Hz, 300 mA in — 5V DC, 1.5 A Out). It can also run off a self-contained 3V button battery— useful on location. To save battery power, the FDC Multi has an automatic off function.
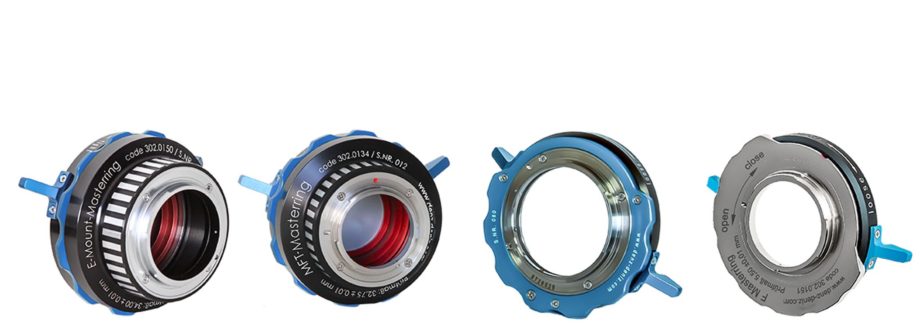
DENZ provides a number of adapters to work with the FDC on a number of cameras: EF, RF, F, E-mount, XPL and more.
Quick Start for DENZ Flange Depth Controller (FDC Multi)
1. Attach the FDC Multi as you would a lens in the mount of the digital camera
2. Connect the camera to a monitor. Lasers in the FDC measure the flange focal depth from mount to the sensor.
3. Rotate the FDC’s barrel as if you were focusing a lens. This adjusts the flange focal depth measurement. When the vertical red line appears centered between the two green bars, the actual measured flange focal depth is displayed on the FDC’s scale.
4. Ideally, it measures to spec. If not, begin shimming the camera’s mount.
Präzisions-Entwicklung DENZ Fertigungs-GmbH, Munich

