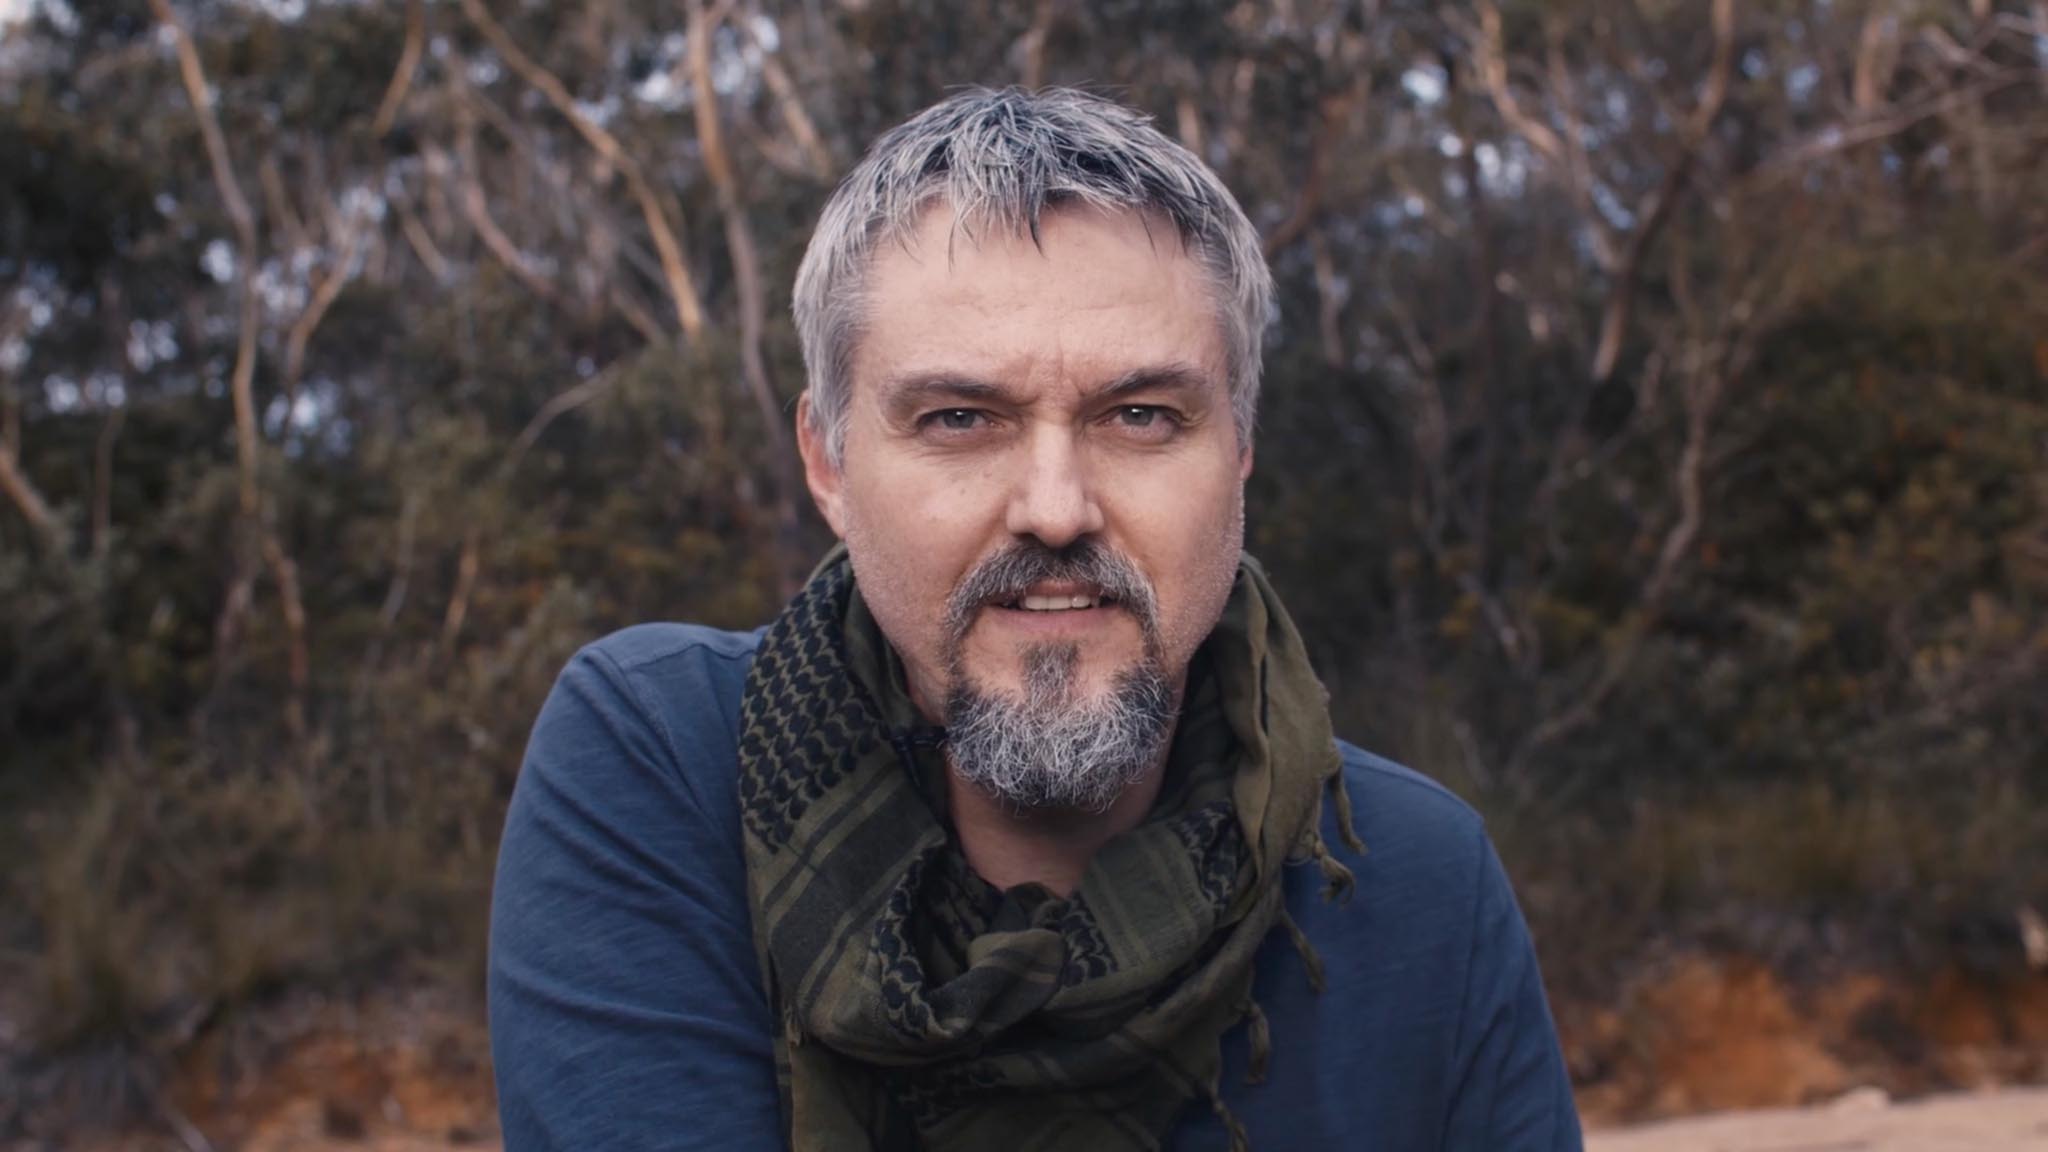
Attila Kaldy’s Track: Search for Australia’s Bigfoot is now streaming and on DVD. Produced by Sydney-based MoonLark Media, Attila takes us on a fascinating journey into the rugged Australian wilderness with an intrepid band of scientists and adventurers. Attila shot this documentary with the Blackmagic Pocket Cinema Camera 4K, edited and graded in DaVinci Resolve Studio. We spoke by phone for this interview.
Jon Fauer: Please tell us about yourself and this production.
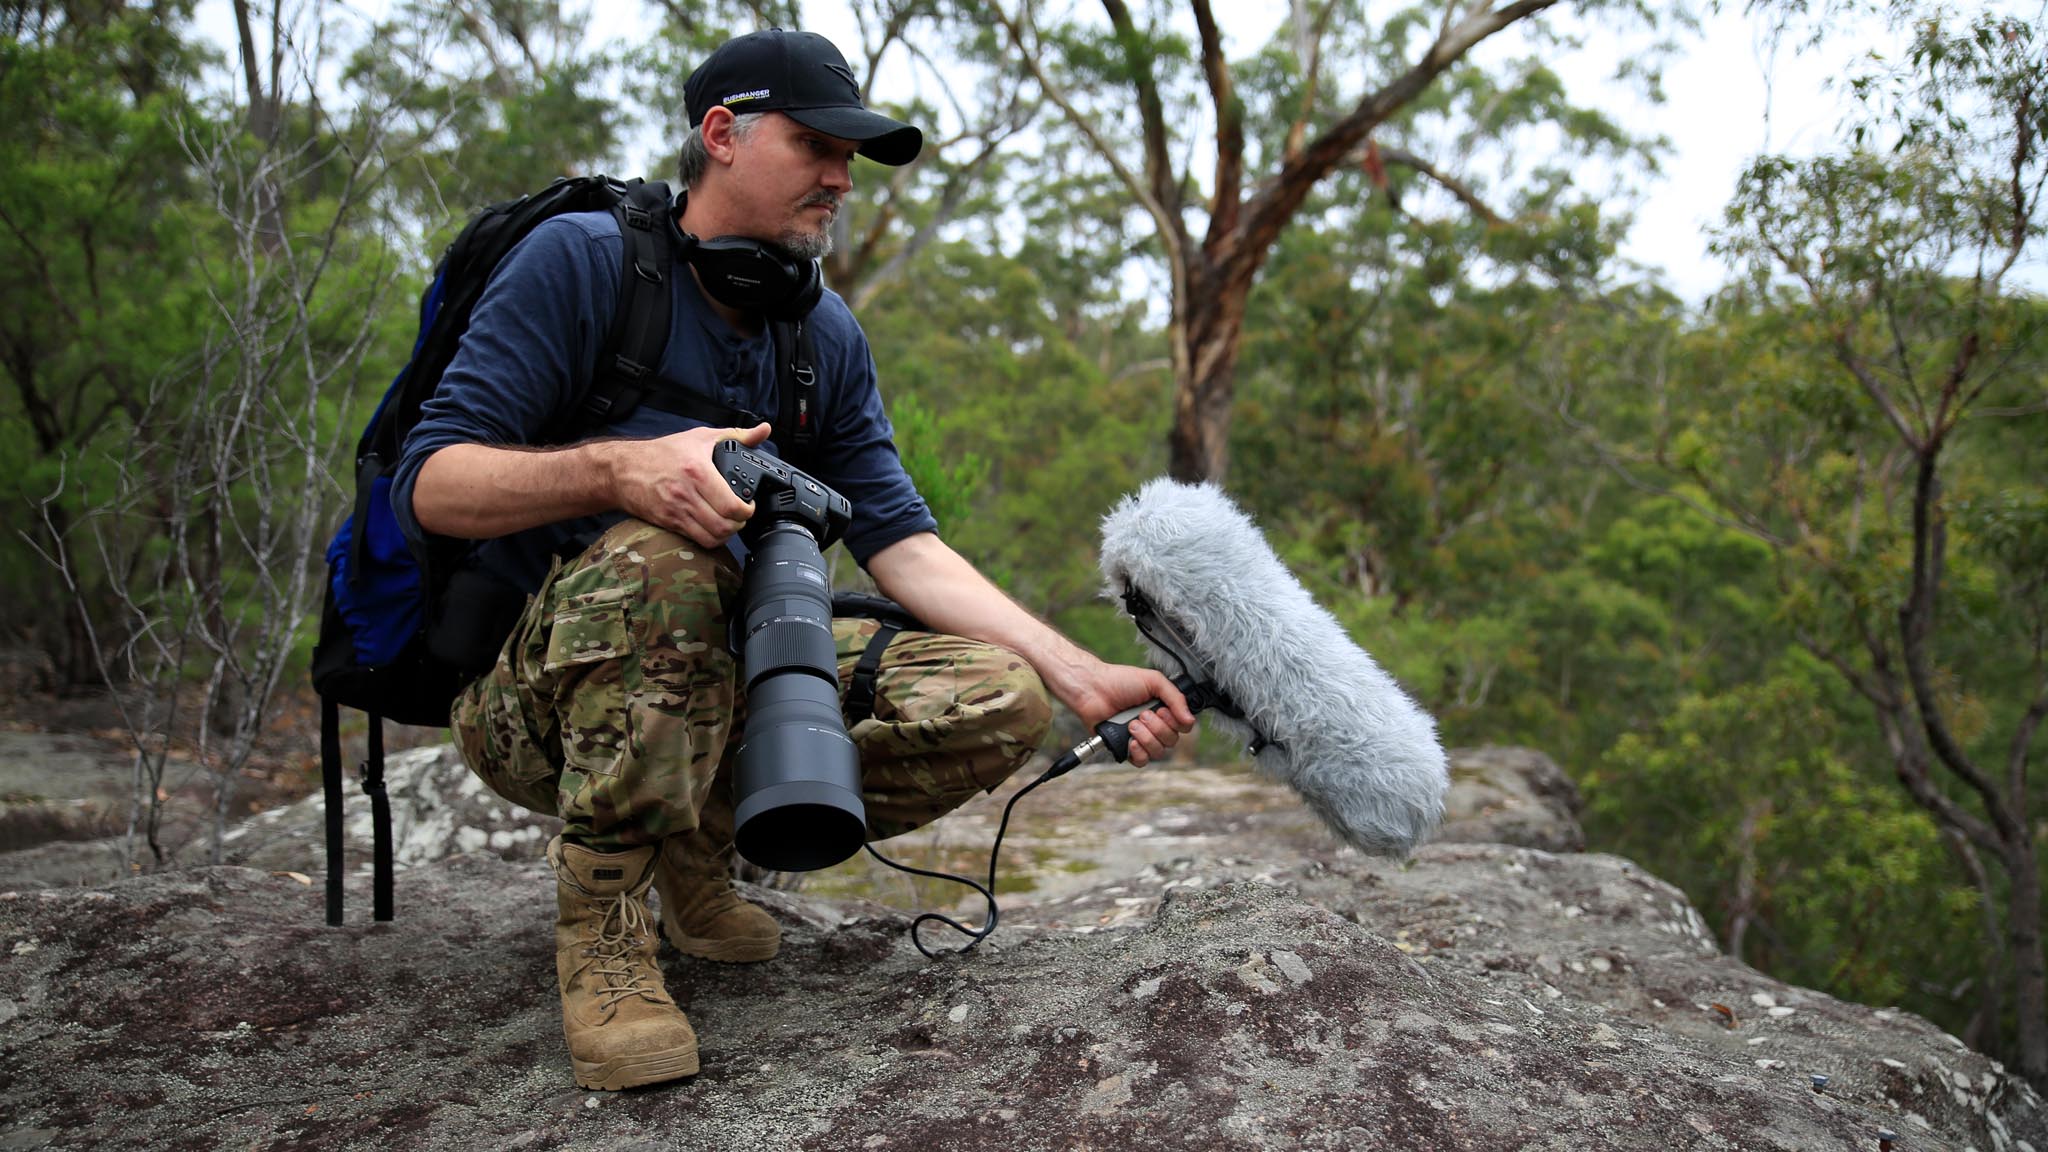
Attila Kaldy: I’m a solo, independent filmmaker. I basically do everything. My daughter, who just finished film school at AIT Sydney sometimes works with me. She did a lot of the shots where I’m actually in the film and some of the slow motion and establishing shots. I usually have three cameras hanging off me when I’m running around. It’s hard work but someone’s got to do it.
What kind of cameras do you have hanging around your neck?
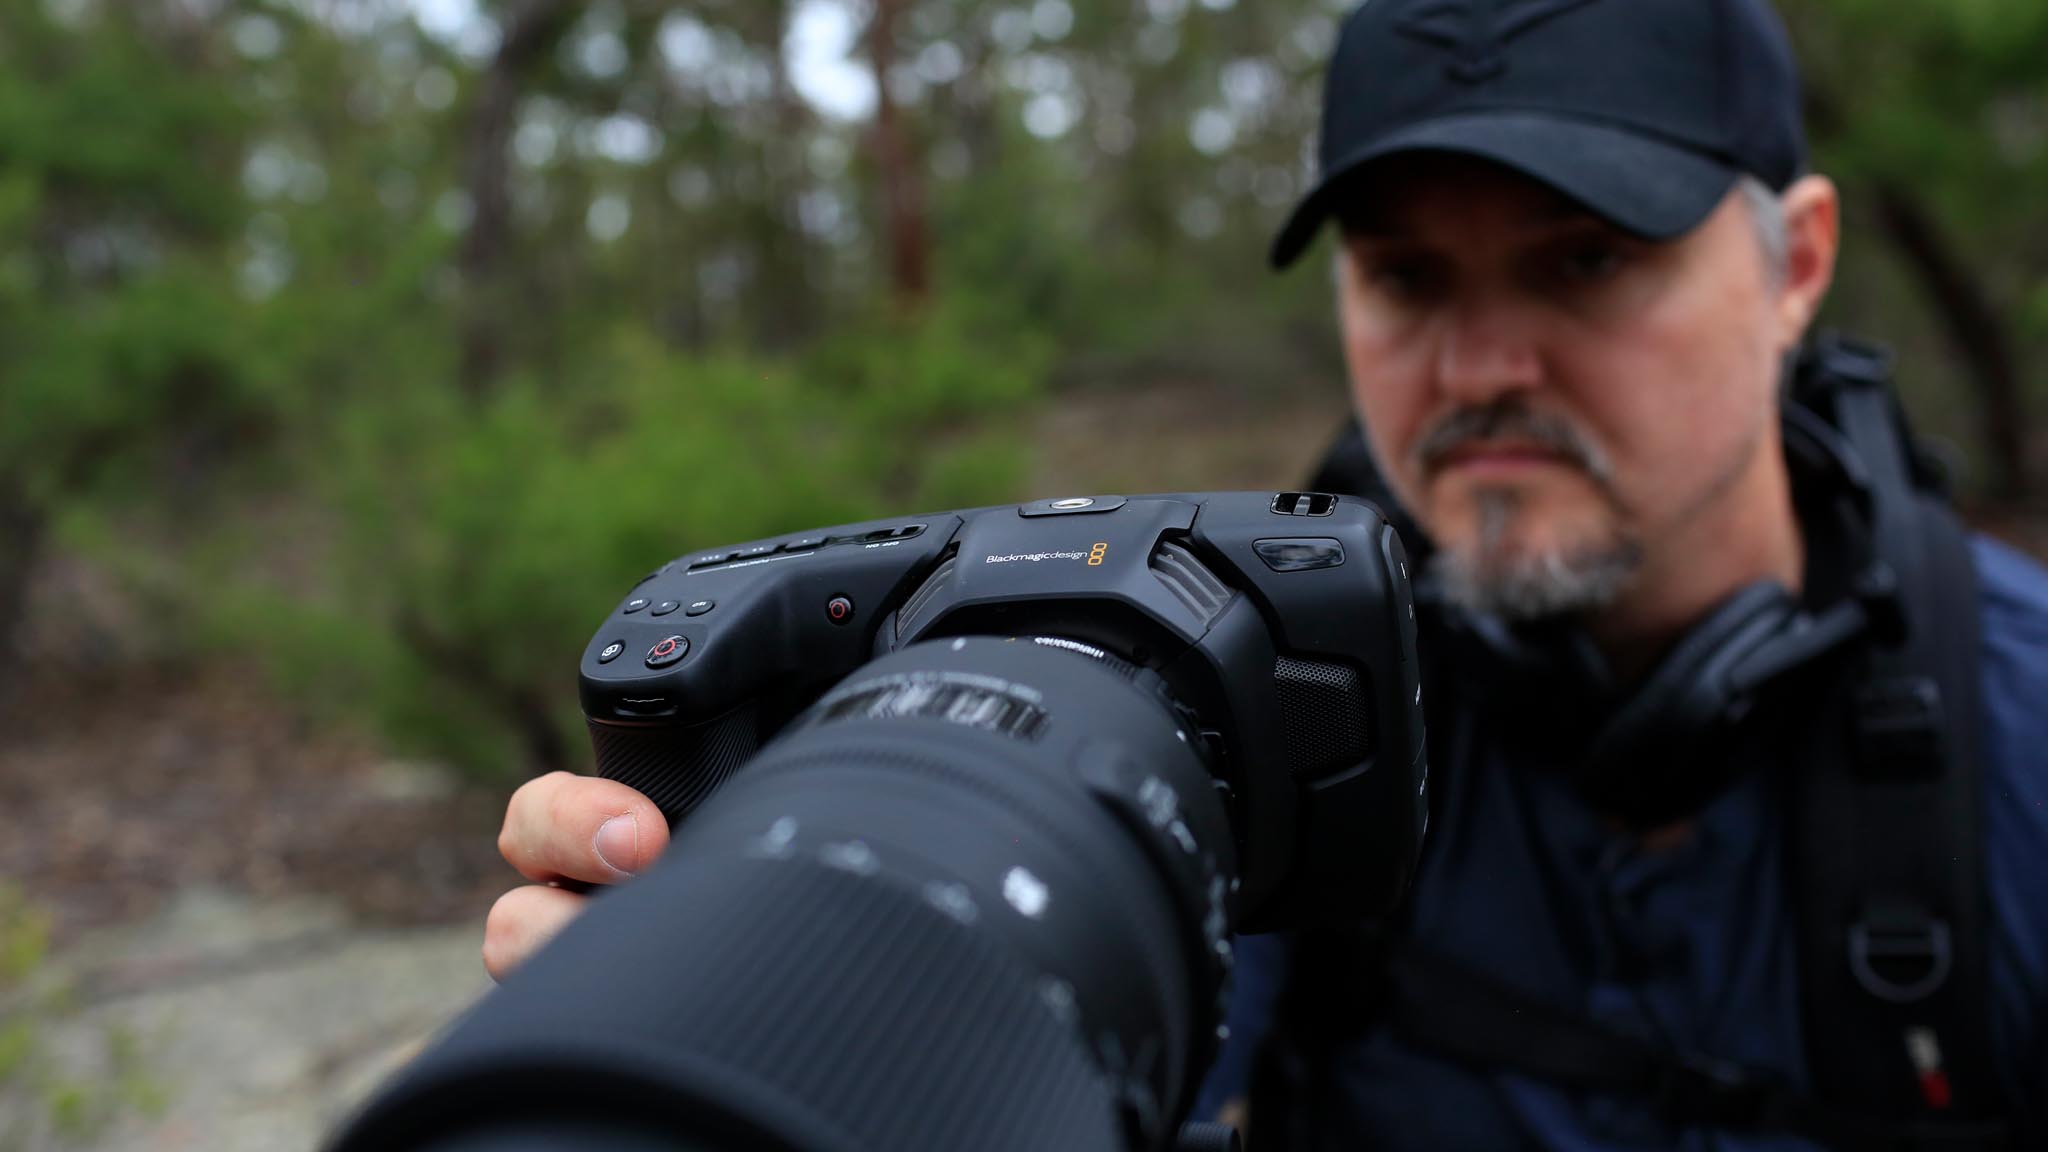
I have the Blackmagic Pocket Cinema Camera 4K. The 120 frames per second in HD is damn great. I am very happy with the design of their camera. I know it’s not the only camera out there, but with the color science behind Blackmagic Design, it’s just one of those no-brainers, it’s the perfect camera for my jobs. When I’m running and gunning, sometimes I’ll also bring along a Canon C100 for its auto focus option when I’m interviewing people out in the field. I also have a little Sony Handycam for the night vision scenes when it gets completely dark, rather than just flooding the whole area with white or red light and then going blind for half an hour in the wilderness. So, these are the three cameras that I have out in the field.
And what kind of lenses do you use with the Pocket Cinema Camera 4K? It’s Micro Four Thirds?
I go for a Micro Four Thirds to EF adapter straight away. I use EF lenses because I’ve got a speed booster on it. It gives me an extra 1 2/3 stops of aperture. I mostly use a SIGMA 50mm lens. I also have a 35mm f/1.4 Canon. And I recently bought a 150-600mm f/5-6.3 SIGMA telephoto lens that is fantastic for doing wildlife scenes. I effectively camp out somewhere, double camo, and wait patiently. I also use a 24-70mm f/2.8 Tamron.
I’m now looking at getting the Blackmagic Pocket Cinema Camera 6K because it accepts my EF lenses with autofocus, doesn’t need the speed booster, and with its larger, Super35 sensor, is going to be better in lower light. But the low light aspect of the Pocket Cinema Camera 4K has been really good so far and I really can’t complain.
Who does the audio?
I do the audio as well. But, running around on my own and setting up audio, I need to be very conscientious about all the different aspects of filming. I want to make sure, when I go into post-production, I don’t start screaming at myself, “Well mate, you’re an idiot. Why didn’t you pay more attention to that?” Because I do the editing as well. I basically do everything from pre-production, to production and post production.
As a one-man band, how do you do audio if you’re all alone?
With the Pocket Cinema Camera 4K, I have the onboard mic going as a baseline. I have a RØDE NTG1 lightweight shotgun microphone. I put a little windsock on it and try to avoid any kind of rumbling if there is a windy day. It’s been providing very good audio. When I am on camera or do interviews, then I use a Sennheiser radio mic. I plug it into a field recorder for good quality audio. I synchronize the old-fashioned way, with a clapper, and line up the audio in the DaVinci Resolve Studio timeline afterwards.
What are your settings on the Pocket Cinema Camera 4K?
On my current production, I’m recording 4K. On Track, I went completely HD, recording in Apple ProRes 422 HQ, which is a 10-bit file at 27.5 MB/s data rate. When I first saw the Pocket Cinema Camera 4K advertised and looked at the specifications, I was amazed at what that little camera can actually do compared to a lot of the larger cameras. The quality is great and also having 13 stops of dynamic range retains the shadow detail and the highlights. It’s just a superb mixture.
When you are in the wilderness for a long time, how do you wrangle the data? Do you have a Bigfoot download your CFast card at night?
Well, if I ask them nicely, maybe. Effectively, I use 250 GB CFast cards. I still use SD cards on the C100 but that is an 8-bit camera. So, trying to actually match the color and everything else when I’m doing color correcting and grading in the timeline is a bit of fun, but it can be done. It obviously won’t get any way near the quality of the Pocket Cinema Camera 4K. But I usually take a little laptop with me. I have a rugged hard drive when I need to do a data dump in the middle of nowhere on a regular basis. I also do a backup onto another drive. It’s a direct copy. Because I’ve got three cameras with me, the folder’s name is the name of the actual camera and then the date. Within that folder, if I have daytime and night shots, I name different folders as to different times of the day.
You also do your own editing.
Initially I was using another software program. When I bought the Pocket Cinema Camera 4K, it came with the full version of DaVinci Resolve Studio. I basically said, “I’m going to learn how to use it and see how it goes.” I was a bit worried at first because, in going from one program to DaVinci Resolve Studio, I didn’t know what to expect. But the pleasant surprise I got was absolutely incredible. The editing and output was smooth. Rendering was fast. I had no issues whatsoever. It’s probably the best software I’ve worked with when it comes to editing. I know that there are other programs out there that are great, but all I can say is with DaVinci Resolve, you have Fusion, Fairlight, Color Correction and Grading and Editing all in one program. It is fantastic.
What were your DaVinci Resolve Studio Studio project settings to match the different cameras?
When I go from an interview to a field shot, I’m cutting between Apple ProRes HQ and something that has been recorded in MP4 H.264 at a much smaller bit rate. First, I match the color automatically in DaVinci Resolve Studio even before I actually start grading. Then I’ll do my grading afterwards, correcting the different color tones and contrast. I generally use the wave form monitor in the color correction page. The RGB parameter gives me a good indication as to how my colors are with each subject. The other good thing is how DaVinci Resolve Studio allows you to work in split screen of before and after to give you a good indication as to where you are with the color correction.
The project settings are 10-bit. I output the project as Uncompressed YUV 10-bit 422 Quicktime. That can be re-encoded into ProRes for delivery.
I thought Bigfoot was a phenomenon in our Pacific Northwest. I didn’t realize you had them in Australia.
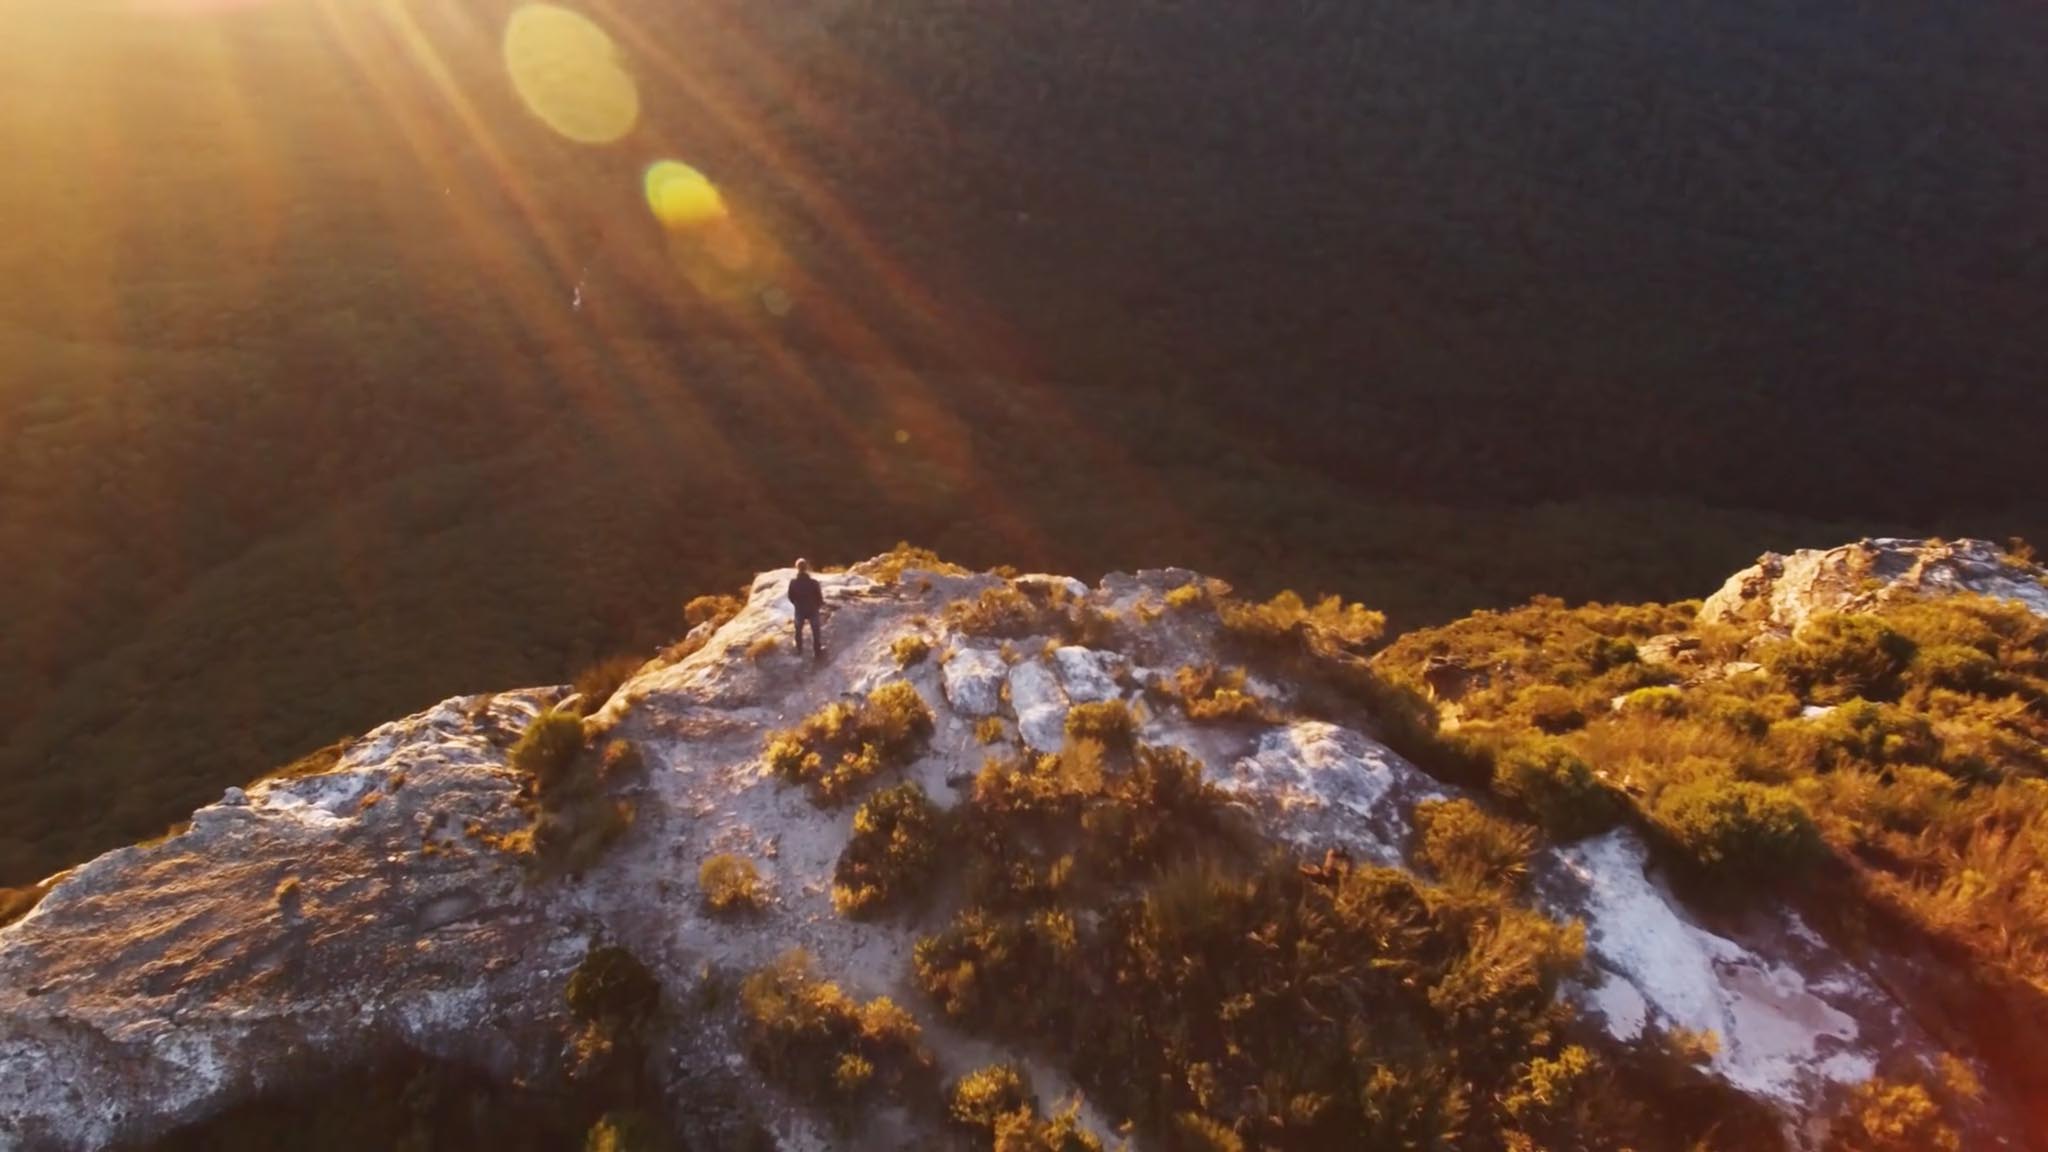
The Bigfoot culture is also here in Australia, although in another version. It’s known under different names, but commonly as “Yowie” over here. The indigenous cultures have their own names for them depending on which nation and which part of Australia.
It was fascinating because the actual story of Australian indigenous culture has similarities to the native American and Canadian Sasquatch. The local indigenous culture refer to them as Junjudee and the Duligaal. But, our documentary primarily focuses on the people who actually go out and look for them. It’s very much a humanistic story. Rather than focusing on running through the woods and chasing Bigfoot, we focus instead on the people whose passion and drive moves them to search for evidence.
How long was this production?
We started in November 2018 and I finished in November 2019.
How did you fund it?
The whole point of being a solo independent filmmaker is that having the gear and the knowledge of using the gear and then being able to plan, develop, execute and then create the end product to distribute. So, the whole thing was basically funded out of my own pocket.
Please describe the story.
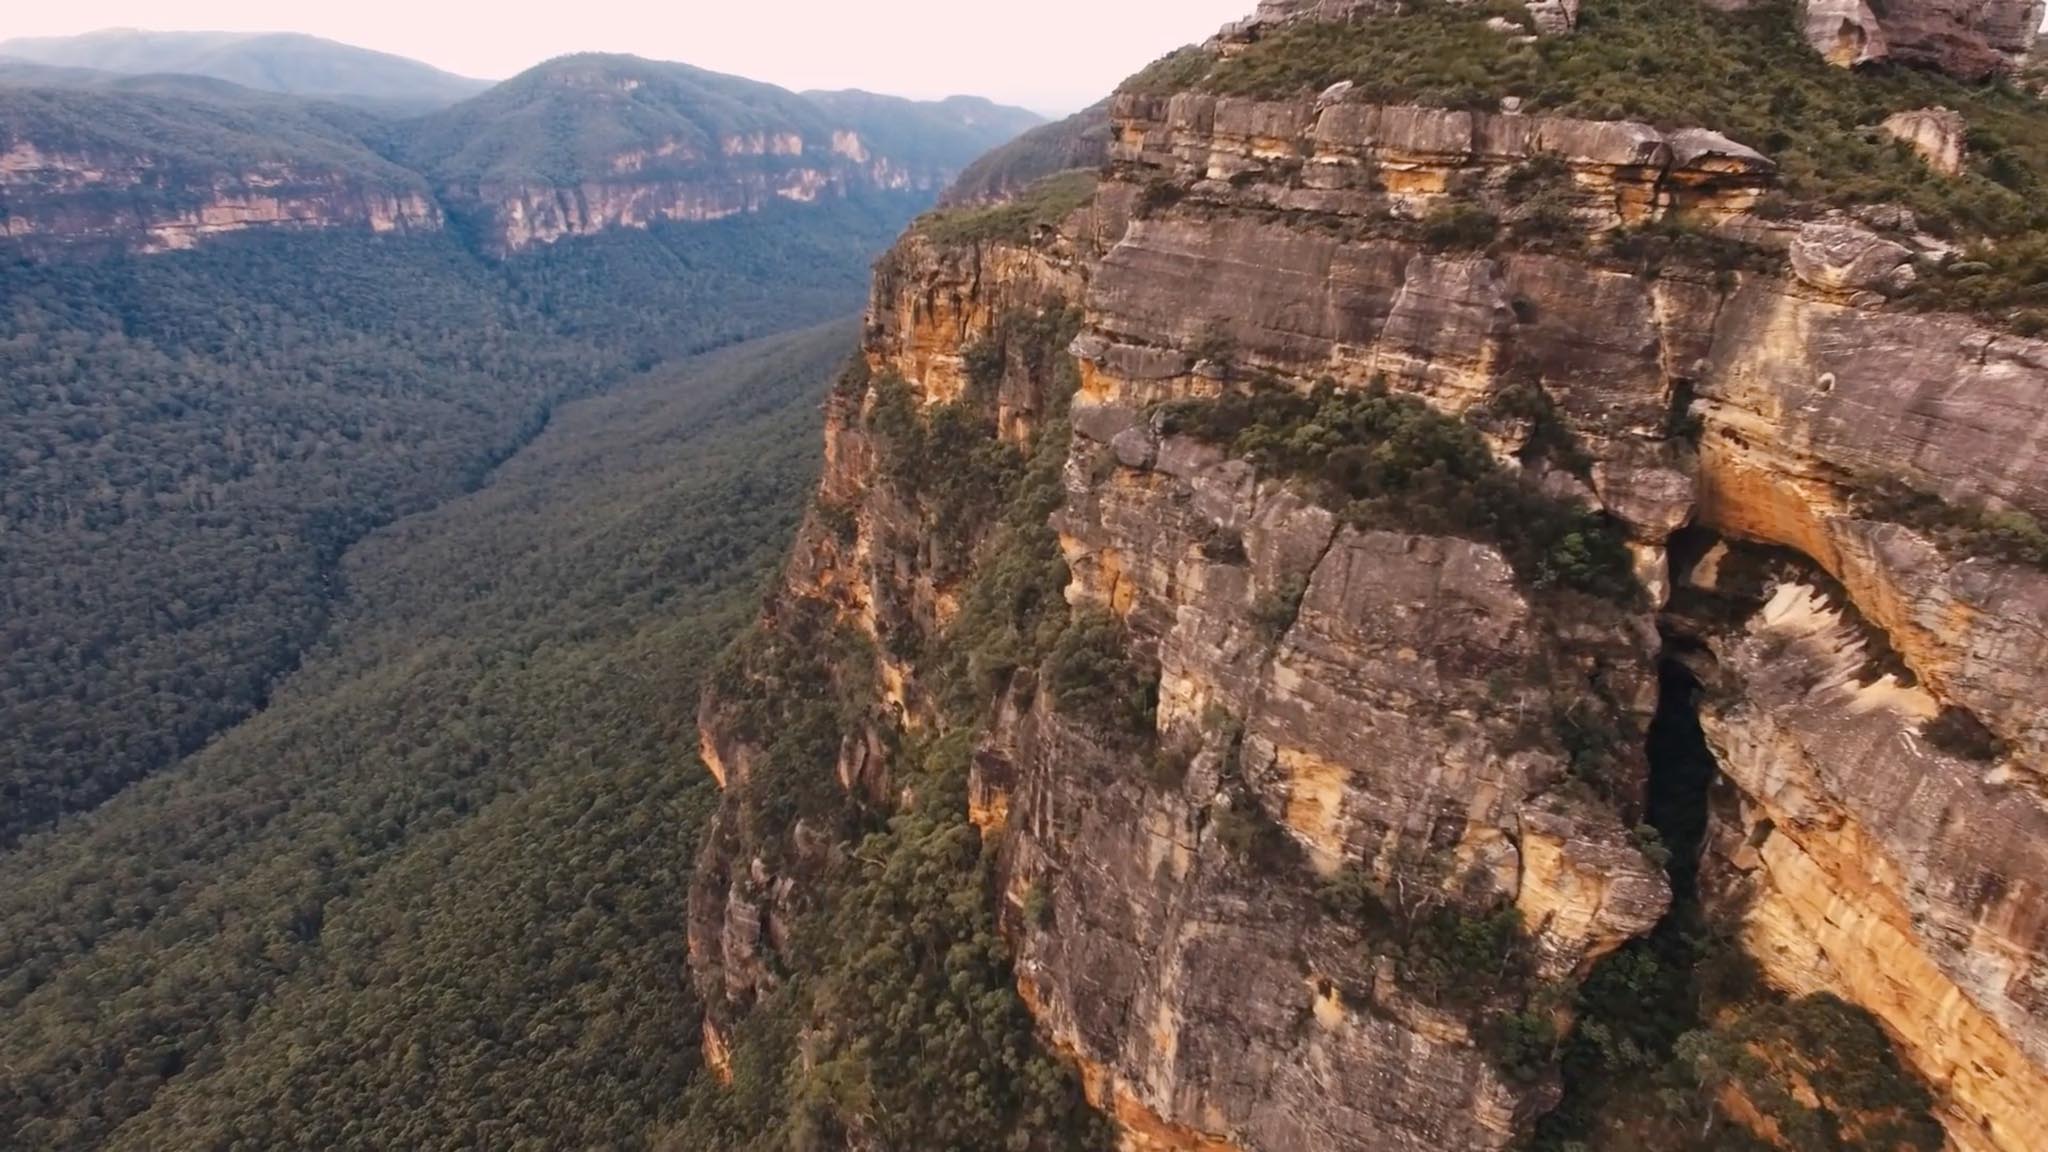
It starts out as my own journalistic inquiry. I personally had an interesting experience myself, so I just wanted to know more. That’s how the whole story started. Then we meet up with a man who allegedly filmed a Bigfoot accidentally in the Blue Mountains. He speaks about his own experience and ultimately we bring out a university lecturer to investigate the location. We see what other people have acquired in a way of evidence and what they feel is going on in the wilderness.
As we’re making these inquiries, interviewing people and going out into the field with them, the story is building up to a larger expedition to the Blue Mountains to see what we can actually locate and find out what’s actually going on. It’s focused largely on people but also examines the reality and characteristics to these creatures.
What was your experience?
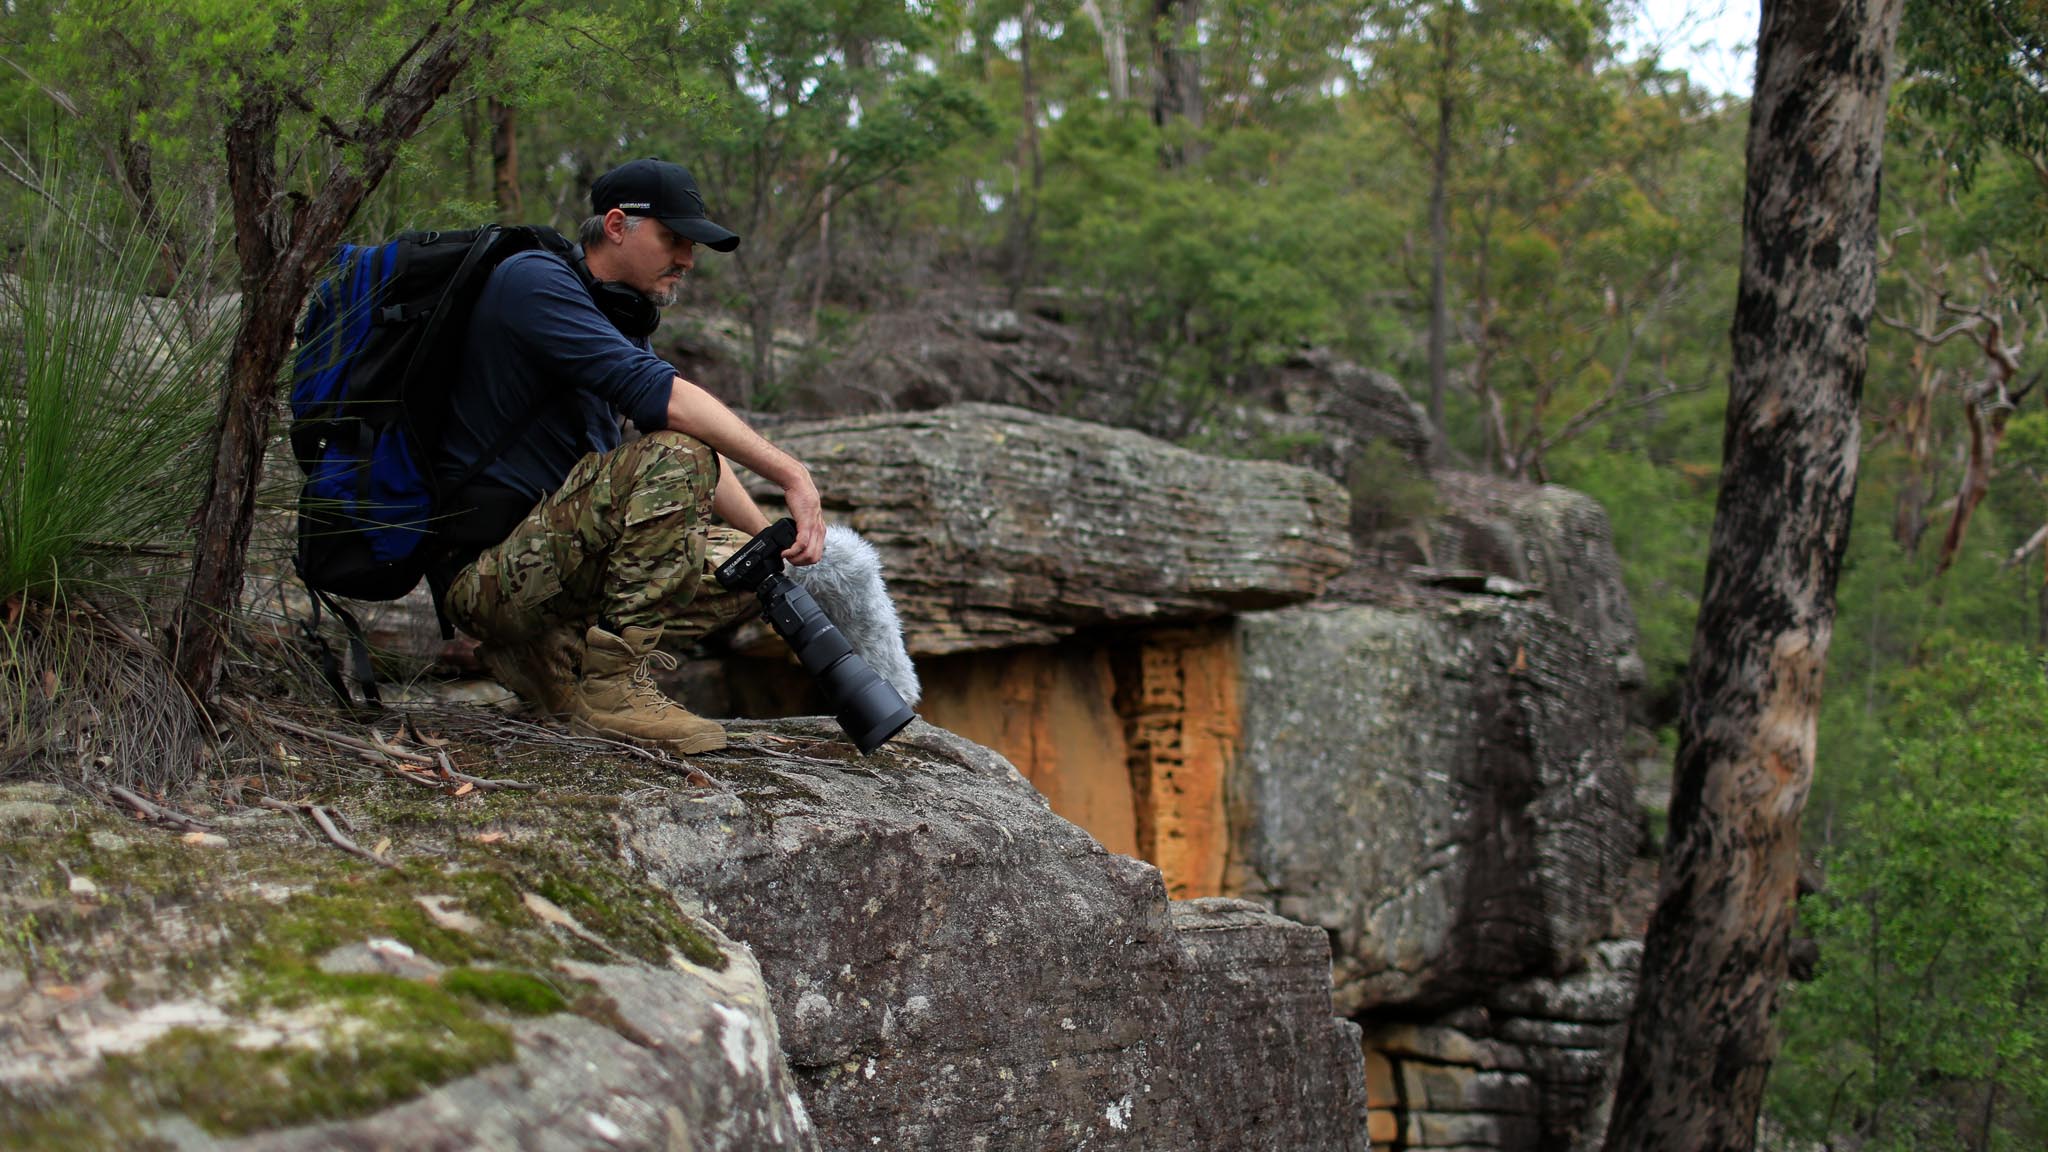
t was a very direct and interesting experience. We were chased out of the wilderness by whatever these things were. They were massive and just bulldozing their way through the trees and throwing rocks at us. One might say they could have been people out there, but not the way those things went through some really rugged terrain. We were a small expedition crew at the time. Everybody was panicking and we just wanted to get the hell out of there. To be honest, that woke me up to the idea that there are things in the wilderness we need to pay attention to.
And you carry all the camera gear in a backpack yourself?
Yes, and also water, clothing, food, tripod, laptop.
Track, Search for Australia’s Bigfoot is available on iTunes
This article first appeared in FDTimes April 2020 Issue 101.


